
How High-Quality Photo Scanning Improves Digital Image Quality
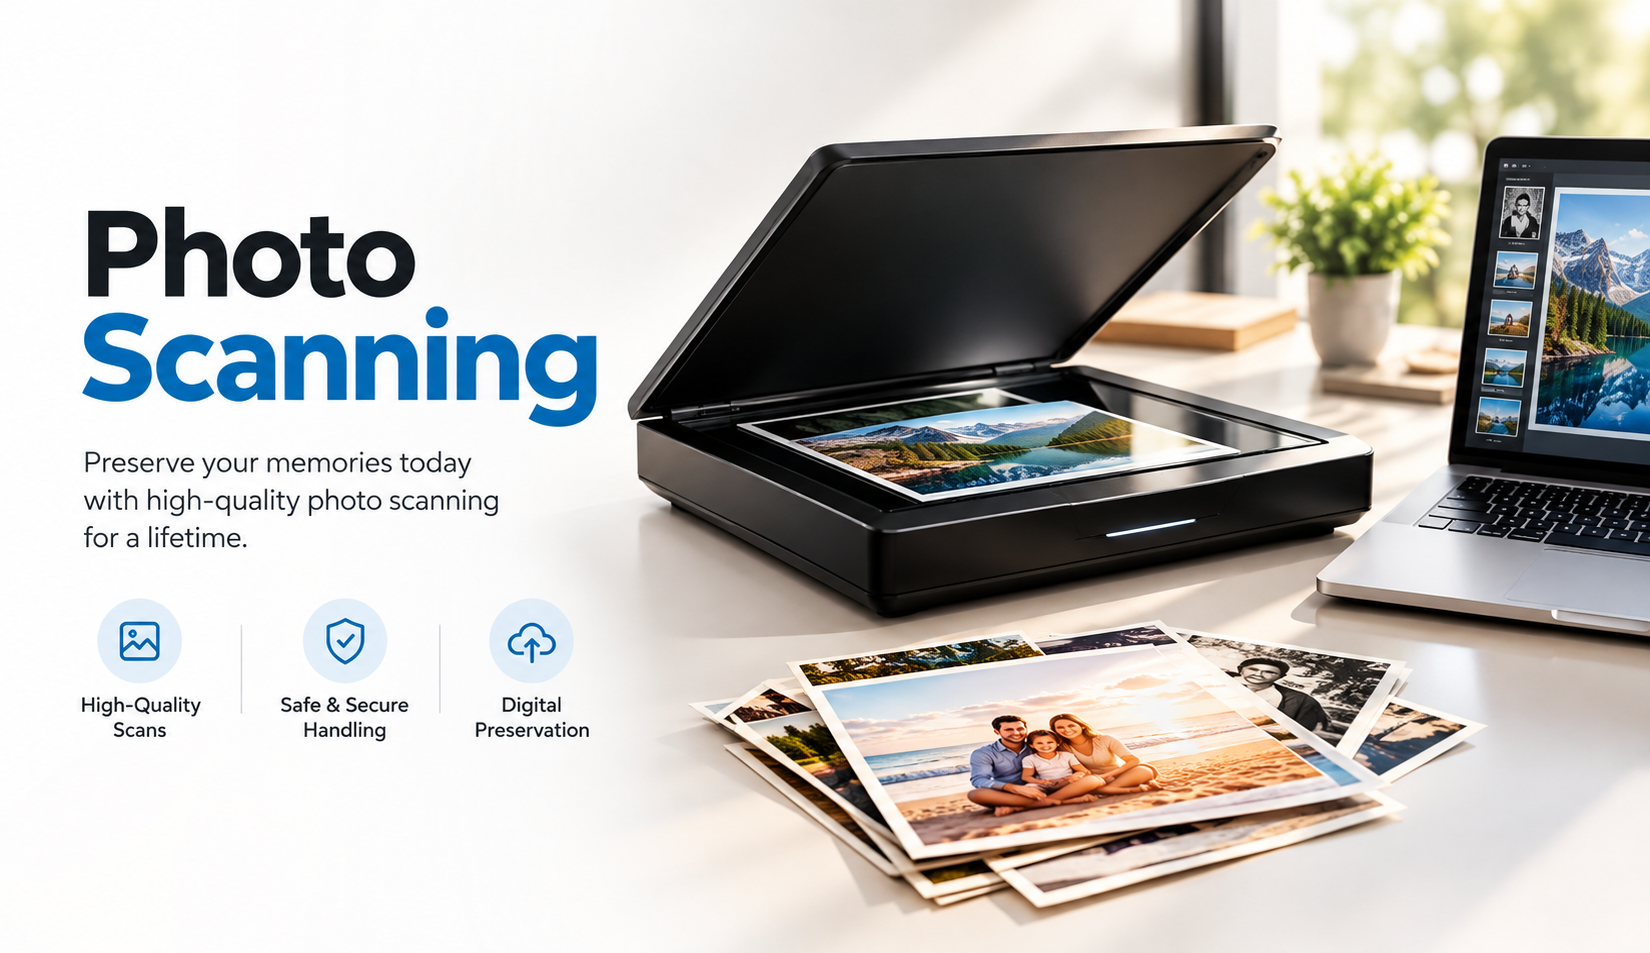
Old photographs often look better in your hand than they do after a quick scan. Fine facial details disappear, dark areas turn muddy, skin tones shift, and small scratches suddenly become distracting. We regularly see clients assume the original photograph caused the problem when the scanning process actually lost information during capture.
Good Photo Scanning starts with more than placing a photograph on glass and choosing a high DPI setting. Scanner quality, resolution, tonal range, color handling, focus, surface condition, file format, and post-scan adjustments all influence the final digital image. When those elements work together, the digital file preserves more of what made the original photograph valuable in the first place.
We approach scanning as a capture process first and an editing process second. A clean scan should record as much useful information as the original can provide before anyone starts adjusting color, repairing scratches, or sharpening details. That order protects image quality and gives future editing, printing, and archiving a stronger foundation.
High-Quality Photo Scanning Starts With Better Image Capture
A scanner cannot improve information that it never captures. That sounds obvious, yet many scanning problems begin when someone chooses a fast setting, scans at a low resolution, or relies heavily on automated corrections before checking the original photograph.
A strong workflow captures enough detail, tonal information, and color data to support the intended use. A family archive, website image, enlarged print, museum record, and professional reproduction may all require different specifications.
Capture The Original Before Trying To Improve It
We prefer to create a dependable digital master before making creative corrections. The master should reflect the photograph accurately enough that future users can return to it if they need a different crop, print size, color treatment, or restoration approach.
Aggressive edits during the first scan can remove information permanently. Heavy sharpening may exaggerate grain, automatic contrast may crush shadow detail, and strong noise reduction can smooth out facial texture.
Capturing first and editing second gives the photograph more room to survive future uses.
Scanner Quality Affects More Than Sharpness
People often judge scanners only by their advertised resolution. Resolution matters, but it represents only one part of image quality.
A scanner also needs to distinguish subtle tones, hold detail in shadows and highlights, maintain consistent color, focus evenly across the photograph, and avoid introducing unwanted noise or artifacts. Two scanners using the same nominal DPI can therefore produce noticeably different results.
For photographs with delicate gradients or faded areas, tonal performance can matter just as much as raw pixel count.
Resolution Determines How Much Useful Detail The File Can Hold
Resolution creates one of the most misunderstood parts of photo digitization. Many people assume that entering the highest possible DPI automatically produces the best scan.
Higher numbers create larger files, but they do not always create more real detail. The original photograph, print size, grain structure, scanner optics, and final use all influence how much resolution actually helps.
Scan Resolution Should Match The Original And Final Use
A small photograph may need a higher scan resolution than a large print because the smaller original needs more pixels to support enlargement.
For example, someone who wants to archive a 4 × 6 family photograph and later create a larger print needs more captured information than someone who only needs a small online image.
Federal cultural-heritage digitization guidance also treats resolution according to the size and characteristics of the original rather than relying on one universal setting. Current FADGI guidance covers technical imaging parameters, quality evaluation, master files, color space, and broader process controls instead of reducing quality to a single DPI number.
More DPI Does Not Automatically Mean More Detail
Every photograph contains a finite amount of physical information.
Once the scanner captures the useful detail in the print, increasing the resolution further may only create more pixels around the same information. The file becomes larger without revealing meaningful new facial features, texture, or photographic detail.
We therefore look for usable resolution rather than the largest number a scanner can advertise.
Pixel Dimensions Matter For Enlargement
When clients plan to print an image larger than the original, pixel dimensions become especially important.
A file needs enough real pixels to support the intended print size without excessive interpolation. Enlarging a weak scan does not restore detail that the scanner missed; software simply estimates new pixels between existing ones.
A stronger original capture gives enlargement software much better material to work with.
Better Tonal Range Preserves Details In Shadows And Highlights
Photographs rarely contain only bright whites, deep blacks, and obvious midtones. Important information often sits inside subtle transitions.
A dark jacket may contain folds that a poor scan turns into one black shape. A bright wedding dress may contain texture that disappears when highlights clip. Faces can lose depth when the scanner compresses the tonal range too aggressively.
Shadow Detail Often Reveals Scanner Limitations
Dark areas create a useful test of scan quality.
A strong scan should retain visible differences between nearby dark tones when the original photograph contains them. If hair, clothing, furniture, and background shadows all merge into the same black area, the digital file has lost useful information.
We examine those regions carefully before increasing contrast because contrast cannot recover tones that the capture already discarded.
Highlight Detail Needs The Same Attention
Bright areas can fail in the opposite direction.
White clothing, windows, sky, reflective objects, and pale skin highlights may lose detail when the scan pushes them too close to pure white. Once those tones disappear, later editing has very little information to recover.
A balanced scan protects both ends of the tonal range.
Accurate Color Makes Digital Photographs Feel More Natural
Color problems often make an otherwise sharp scan look wrong. Skin may appear too red, whites may shift toward blue, greens may become overly saturated, or an old photograph may gain a color cast that did not exist in the original.
We treat color accuracy as part of capture quality rather than as a decorative adjustment added at the end.
Neutral Colors Give Useful Clues
White shirts, gray objects, neutral walls, and other low-saturation areas often reveal unwanted color casts quickly.
If a neutral object looks noticeably blue, yellow, green, or magenta compared with the original, we investigate the capture and color settings before making broader edits.
Correcting one underlying cast often improves the whole image more naturally than adjusting each color separately.
Old Photographs Need Careful Judgment
Older prints may already contain fading, yellowing, or dye shifts.
The goal does not always involve making an old photograph look newly photographed. Sometimes the most faithful digital version should preserve part of the print's current character. In other cases, a client may want a restored interpretation that moves closer to the likely original appearance.
We separate those goals because preservation and restoration do not always mean the same thing.
Proper Photo Preparation Improves Scan Quality Before The Scanner Starts
Many digital defects begin on the physical surface.
Dust, fingerprints, fibers, loose debris, and dirty scanner glass can appear surprisingly sharp in a high-resolution file. The higher the capture quality, the more clearly the scan may reveal those unwanted details.
Clean The Scanning Surface Carefully
A small speck on scanner glass can repeat across dozens of photographs when nobody notices it.
We check the glass regularly and remove loose contamination using methods appropriate for the equipment and material. We also avoid aggressive cleaning methods that could scratch or damage delicate originals.
Prevention usually takes less time than digitally removing the same defect from every file later.
Handle Original Photos Conservatively
Older photographs can carry fragile surfaces, curled edges, cracked emulsions, or writing on the back.
We avoid unnecessary pressure and handling because the digitization process should not damage the object that we want to preserve. Valuable, rare, mounted, or unusually fragile originals may require a different capture method from ordinary modern prints.
The condition of the original should guide the workflow.
High-Quality Scanning Reduces The Need For Aggressive Editing
A weak scan creates a difficult editing problem. Editors may push sharpening, contrast, saturation, noise reduction, and artificial enhancement simply to make the file look acceptable.
A strong scan usually needs less intervention.
Good Capture Gives Editors More Flexibility
When the file contains healthy tonal information and real detail, an editor can make smaller and more controlled adjustments.
Subtle color correction works better than repairing a severe cast. Light sharpening works better than trying to create edges in a blurry scan. Gentle dust cleanup works better than reconstructing large damaged areas.
Good scanning does not eliminate editing, but it gives editing better source material.
Over-Sharpening Can Make Old Photos Look Worse
Sharpening increases local edge contrast. Used carefully, it can make a scan feel more defined.
Used aggressively, it exaggerates film grain, paper texture, dust, scratches, and compression artifacts. Faces may develop unnatural edges, while fine hair and fabric can look harsh.
We apply sharpening according to the final use rather than treating it as a universal improvement.
Photo Restoration And Photo Scanning Solve Different Problems
Clients sometimes expect scanning software to repair every crack, stain, faded region, missing corner, and damaged face automatically.
Scanning captures what exists. Restoration changes the captured image to reduce damage or reconstruct missing visual information.
Start With The Best Possible Scan
Restoration works more effectively when the base file contains strong detail and tonal information.
A restorer can make better decisions when the scan clearly shows the boundary between original image detail and physical damage. A poor scan can blur those distinctions and make restoration harder.
We therefore treat capture quality as the first stage of restoration rather than trying to compensate for weak scanning later.
Preserve A Master Before Major Restoration
We recommend keeping an untouched or minimally processed master alongside the restored version.
That master gives the owner a record of the original photograph's digital capture. Future editors can return to it if restoration preferences change or newer techniques become available.
Keeping both versions also prevents one heavily edited file from becoming the only surviving digital record.
File Format Influences Long-Term Image Quality
A high-quality scan can lose some of its value if someone immediately saves it into an unsuitable file format.
Different formats serve different purposes. Some favor editing and preservation, while others prioritize smaller file sizes and convenient sharing.
TIFF Works Well For High-Quality Masters
TIFF commonly fits archival and professional image workflows because it can store high-quality raster data without relying on the heavy lossy compression associated with ordinary JPEG use.
Large TIFF files require more storage, but storage usually costs less than rescanning an entire collection later.
For important photographs, we often prefer to keep a strong master and create smaller derivative files from it.
JPEG Works Well For Everyday Access
JPEG remains practical for email, websites, mobile devices, and general sharing.
The problem appears when someone repeatedly edits and resaves compressed JPEG files. Each lossy save can reduce image quality, especially around fine edges, text, and detailed textures.
We therefore use JPEG as a convenient delivery format rather than automatically treating it as the only master file.
Keep One Master And Create Purpose-Specific Copies
One high-quality master can support many outputs.
From that file, users can create a smaller web image, social-media copy, email version, restored file, print file, or cropped version without rescanning the photograph.
This workflow keeps the best available source intact.
Bit Depth Gives Editing More Tonal Information
Bit depth sounds technical, but the practical idea remains simple: a file with more tonal information gives editors more room to make adjustments before visible banding or tonal breaks appear.
That extra information can help when a photograph needs significant color, exposure, or tonal correction.
Higher-Bit Masters Can Help Difficult Originals
Faded prints, photographs with subtle gradients, and images that need substantial correction may benefit from higher-bit capture workflows.
The final delivery file does not always need the same bit depth. The advantage comes from giving the master and editing process more information to work with before export.
We decide this according to project needs rather than using unnecessarily large files for every photograph.
High-Quality Scanning Helps Preserve Fine Texture
Faces and large objects attract attention, but small textures often reveal whether a scan truly holds up.
Hair, fabric, handwritten notes, wood grain, jewelry, architectural details, and photographic grain can disappear quickly in poor scans.
Fine Detail Matters During Enlargement
A scan may look acceptable as a small thumbnail while hiding serious limitations.
Once someone enlarges the file for a display print, book, exhibit, or family keepsake, missing detail becomes much easier to see.
We evaluate scans at realistic viewing sizes instead of judging everything from a reduced preview.
Texture Should Not Become Digital Noise
High-resolution capture also records imperfections.
The goal involves preserving real texture without confusing scanner noise, dust, paper fibers, or compression artifacts with photographic detail.
That distinction requires both suitable equipment and careful review.
High-Quality Photo Scanning Supports Better Printing
A digital image may look good on screen yet disappoint when printed. Monitors emit light, while paper reflects it, so prints reveal tonal and color problems differently.
Strong scanning creates a better starting file for professional printing.
Print Size Should Influence The Capture Plan
If a client wants to reproduce a small photograph at a substantially larger size, we consider that goal before scanning.
The original dimensions, real image detail, scan resolution, cropping, and final viewing distance all influence the practical enlargement limit.
Planning early avoids discovering after scanning that the file does not contain enough useful information for the desired output.
Fine Art And Reproduction Work Need A Controlled Workflow
Artists and photographers who plan to produce high-quality reproductions need consistency from capture through output. The scan needs enough detail, color information, and tonal accuracy to support proofing and repeat production.
Our guide to preparing artwork for giclée prints explains why capture quality, real pixel dimensions, color handling, proofing, and a reliable master file matter when a digital image eventually returns to paper.
The same principle applies to photographic reproduction: the output cannot reliably exceed the information contained in the source file.
Consistent Scanning Matters Across Large Photo Collections
A single photograph can tolerate individual adjustment. A collection of hundreds or thousands creates a different challenge.
Businesses, families, archives, photographers, and organizations need visual consistency as well as individual image quality.
Inconsistent Settings Create An Uneven Archive
If one group receives strong contrast, another receives weak color, and another uses a different crop or resolution, the collection starts to feel fragmented.
We establish repeatable settings and quality checks while still allowing special handling for unusual originals.
Consistency makes the archive easier to browse, print, share, and manage later.
File Naming Matters More Than People Expect
A folder full of files named scan001, scan002, and scan003 becomes difficult to understand months later.
Useful file names can include dates, family names, event names, project numbers, artwork titles, or another consistent identifier.
Good image quality solves only part of the preservation problem. Users also need to find the image again.
Cropping And Straightening Affect Perceived Quality
A scan can contain excellent pixels and still look careless if the photograph sits crooked or includes large areas of scanner bed around it.
We treat cropping and alignment as basic finishing steps, not cosmetic extras.
Preserve Important Edges
Automatic cropping can occasionally remove borders, handwritten notes, deckled edges, dates, or other meaningful details.
We examine the original before deciding what belongs inside the final frame.
For archival work, users may want one version that preserves the complete physical object and another clean crop that focuses on the photograph itself.
Straightening Should Not Distort The Image
Small rotation corrections usually improve presentation.
More aggressive perspective corrections require care because they can reshape the photograph. We avoid unnecessary geometric changes when the goal involves faithful preservation.
The original should remain the reference point.
Common Photo Scanning Mistakes Reduce Digital Quality
Most scanning problems do not come from one dramatic error. Several small shortcuts usually combine to weaken the file.
Understanding those mistakes can save time, especially when someone plans to digitize a large collection.
Scanning At Too Low A Resolution
Low-resolution files may work for quick screen viewing but leave very little flexibility for enlargement, cropping, restoration, or future reuse.
We recommend deciding how people may use the image before choosing a scan setting.
Rescanning later costs time and may prove impossible if the original gets lost or damaged.
Choosing The Maximum Setting Without A Reason
The opposite mistake creates oversized files without meaningful improvement.
Extreme scan settings slow production, consume storage, and make editing cumbersome when the original does not contain enough detail to justify them.
A sensible workflow balances useful information with practical file size.
Applying Automatic Correction To Every Photo
One-click enhancement can help some photographs and hurt others.
A scanner may misinterpret intentional warm tones, faded prints, studio lighting, or artistic effects. Automated systems do not understand the history or intent behind the image.
We review adjustments instead of assuming every automatic change improves accuracy.
Ignoring The Original Photograph
The physical print provides the most important visual reference.
When someone edits only by looking at a monitor, color and contrast can drift away from the original quickly.
We compare capture and source whenever faithful reproduction matters.
A Practical Workflow For Better Photo Scanning
We find that a clear sequence produces more consistent results than adjusting settings randomly from photograph to photograph.
The workflow does not need to become complicated, but each stage should serve a purpose.
Step 1: Identify The Final Use
Decide whether the files will support archival storage, family sharing, online use, printing, restoration, publication, or enlargement.
That decision guides resolution, format, bit depth, and editing choices.
Step 2: Inspect The Originals
Check size, surface condition, fading, scratches, curling, mounts, and unusual materials.
Separate fragile or difficult items from ordinary photographs so they can receive appropriate handling.
Step 3: Prepare The Scanner And Photograph
Check the scanning surface and remove loose dust carefully where appropriate.
Avoid unnecessary contact with delicate photographic surfaces.
Step 4: Capture A Strong Master
Choose a resolution and quality setting that suits the source and intended use.
Capture enough tonal and color information to support future editing without creating extreme file sizes simply for the sake of a larger number.
Step 5: Review The Scan At Full Size
Inspect faces, fine detail, shadows, highlights, color, dust, focus, edges, and cropping.
Do not rely only on a thumbnail.
Step 6: Apply Controlled Corrections
Adjust orientation, crop, color, contrast, and cleanup according to project needs.
Avoid destructive over-processing that removes genuine photographic information.
Step 7: Save The Master And Derivatives Separately
Keep a high-quality master.
Create JPEGs, web copies, restored versions, social-media crops, or print files from that master instead of repeatedly editing the only copy.
Step 8: Organize And Back Up The Collection
Use clear file names and a logical folder structure.
Keep more than one copy of valuable digital archives so a failed drive does not turn a successful scanning project into another preservation problem.
Frequently Asked Questions About High-Quality Photo Scanning
What Resolution Should I Use For Scanning Old Photos?
The right resolution depends on the original size and how you plan to use the file. Smaller photographs or images that require enlargement often need more scan resolution than larger prints intended mainly for digital viewing. We recommend choosing resolution according to real output needs rather than automatically using either the lowest or highest scanner setting.
Is 600 DPI Better Than 300 DPI For Photo Scanning?
A 600 DPI scan can capture more sampling information than a 300 DPI scan when the original and scanner contain enough useful detail to support it. That does not mean every photograph visibly improves at 600 DPI. Original size, image detail, scanner optics, enlargement plans, and file requirements should guide the choice.
Should Old Photos Be Saved As TIFF Or JPEG?
For important master files, TIFF often provides a strong choice because it supports high-quality image storage without relying on ordinary lossy JPEG compression. JPEG works well for convenient sharing, websites, email, and everyday access. We often keep a high-quality master and create JPEG copies as needed.
Can High-Resolution Scanning Restore A Blurry Or Damaged Photograph?
High-resolution scanning can capture the information that remains in the original more accurately, but it cannot recover detail that the photograph never recorded or that physical damage completely removed. Restoration software can reduce scratches, stains, fading, and other problems, yet restoration works best when it starts from a strong, information-rich scan.
Conclusion
High-quality photo scanning improves digital image quality because it protects the information that later stages depend on. Resolution matters, but so do tonal range, color accuracy, focus, clean capture, file format, bit depth, careful handling, and restrained editing. A strong scan gives people more flexibility for printing, restoration, archiving, enlargement, and future digital use.
We recommend treating the first scan as an important master rather than as a disposable intermediate file. Capture the original carefully, inspect the result at full size, preserve real detail, keep major restoration separate, and create smaller working files from the strongest master available.
At Laguna Digital, we approach scanning with the same practical question we use throughout print and reproduction work: what does this image need to support next? Understanding the original, intended output, and preservation goals before capture helps create digital files that remain useful long after the first scan.

 Arabic
 French
 Spanish
 Portuguese
 Deutsch
 Turkish
 Dutch
Dutch
 Italiano
 Russian
 Romaian
 Portuguese (Brazil)
 Greek
Greek