
Common Electric HVLP Paint Sprayer Mistakes and How to Avoid Them
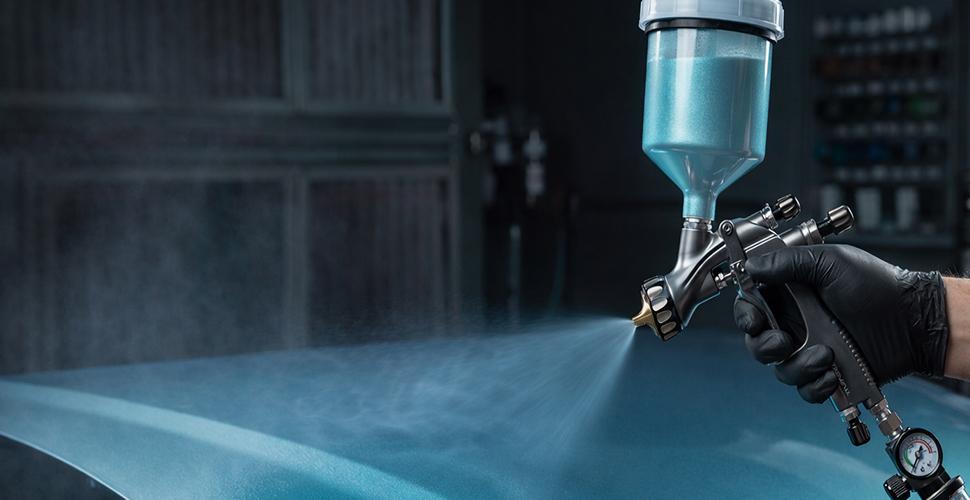
An electric HVLP paint sprayer can help you achieve a smooth, even finish on furniture, cabinets, doors, fences, and walls—but only when it is used correctly. HVLP stands for “high volume, low pressure,” and these sprayers work differently from brushes, rollers, and high-pressure airless systems. Beginners often run into problems such as spitting, clogging, uneven coverage, runs, or excessive overspray. Most of these issues are not caused by a defective machine. They come from a handful of common mistakes.
This guide covers the most frequent electric HVLP paint sprayer mistakes and explains how to avoid them so you can get better results with less frustration.
1. Buying the Wrong Sprayer for the Job
One of the biggest mistakes happens before you even start spraying: choosing a model that does not match your projects. A small handheld electric HVLP paint sprayer may work well for stain, polyurethane, and small furniture pieces, but it may struggle with thick latex paint or large walls. A larger turbine unit may handle heavier coatings, but it can be overkill for touch-ups and small craft projects.
How to avoid it: Before buying, check the materials the sprayer supports, the maximum viscosity rating, and the nozzle sizes included. If you plan to spray unthinned latex paint, confirm that the manufacturer explicitly rates the sprayer for it. Match the container size and power to the scale of your work. Reading reviews from users who spray similar materials can also help you avoid an expensive mismatch.
2. Skipping the Manual and Using the Wrong Nozzle
Every electric HVLP paint sprayer has specific setup requirements. Beginners sometimes unpack the unit, fill the cup, and start spraying without checking which nozzle is installed or how the controls should be adjusted. Using a nozzle that is too small for thick paint can cause clogging and spitting, while a nozzle that is too large for thin material can produce runs and excessive material flow.
How to avoid it: Read the manual before the first use. Identify the recommended nozzle for your coating and install it correctly. Check that the air cap, needle, and fluid tip are clean and properly seated. If your sprayer has separate fluid and air controls, start with the manufacturer’s baseline settings and adjust from there.
3. Ignoring Paint Viscosity and Thinning Incorrectly
Paint thickness is a major factor in spray performance. Some beginners try to spray thick paint without thinning it, which leads to clogging and a rough, spattery finish. Others over-thin the paint, causing runs, poor coverage, and a finish that may not cure properly.
How to avoid it: Check the manufacturer’s viscosity recommendations and thinning instructions. Add thinner gradually—never all at once—and stir thoroughly. Use the correct thinner for the coating: water for water-based products and the appropriate solvent for oil-based finishes. If you are unsure, test a small batch on scrap material before filling the sprayer. A viscosity cup, if recommended by the manufacturer, can help you measure consistently.
4. Spraying Without Testing on Scrap Material
Another common mistake is treating the first wall or cabinet door as the test surface. Spray pattern, fluid flow, air pressure, and distance all affect the finish, and these settings need to be tuned for each material.
How to avoid it: Set up a piece of cardboard or scrap wood and practice before starting the actual project. Adjust the spray pattern to a vertical or horizontal fan as needed. Test the fluid and air controls until you get an even, consistent coat. Practice triggering the gun at the start of a pass and releasing it at the end. This step takes only a few minutes but can prevent hours of rework.
5. Using Poor Spraying Technique
Even a well-set-up electric HVLP paint sprayer can produce bad results if the technique is wrong. Common technique mistakes include holding the gun too far from the surface, moving too slowly, spraying at an angle, and failing to overlap passes. Holding the gun too far away causes dry spray and uneven coverage; holding it too close causes runs and heavy spots.
How to avoid it: Keep the gun perpendicular to the surface and maintain the distance recommended in the manual—often around 6 to 10 inches. Move your entire arm at a steady speed rather than flicking your wrist. Overlap each pass by about 50 percent. Trigger the gun before you reach the edge of the surface and release it after you pass the edge. Keep the gun moving at all times to avoid paint buildup in one spot.
6. Overfilling the Cup and Tilting the Sprayer
Overfilling the paint container can make the sprayer heavy and cause spills. Tilting the gun too far can also allow paint to enter the air passages, which leads to spitting and clogging.
How to avoid it: Fill the cup only to the recommended level, usually no more than three-quarters full. Keep the sprayer relatively upright during use. If you need to spray overhead or at awkward angles, use a sprayer design that is suitable for those positions or adjust your setup. Refill more often rather than overfilling.
7. Neglecting Clogs, Air Leaks, and Dirty Filters
Spitting, uneven patterns, and weak spray are often signs of a clogged nozzle, a loose hose connection, or a dirty air filter. Beginners sometimes keep spraying and hope the problem will clear itself, which usually makes it worse.
How to avoid it: Stop spraying when you notice a change in the pattern. Check the nozzle for dried paint, confirm that the hose and cup connections are tight, and inspect the air filter. Clean or replace filters according to the manual. Keep a cleaning brush and spare nozzle on hand for quick fixes.
8. Cleaning Poorly or Waiting Too Long
Paint left in an electric HVLP paint sprayer can harden inside the nozzle, needle, and fluid passages. Poor cleaning is one of the most common reasons sprayers start performing badly after only a few uses. Soaking the entire gun or turbine in liquid can also damage components if the manufacturer does not approve it.
How to avoid it: Clean the sprayer immediately after every use. Empty leftover paint, flush the fluid passages with the recommended cleaning solution, and disassemble and clean the nozzle and needle. Use the supplied brush for small openings. Let parts dry fully before reassembly, and store the sprayer in a clean, dry place.
9. Ignoring Safety and Ventilation
HVLP sprayers produce less overspray than high-pressure systems, but they still release fumes and fine particles. Spraying in a closed space without ventilation or proper respiratory protection is a serious mistake.
How to avoid it: Work in a well-ventilated area, use a respirator rated for the coating you are applying, and protect surrounding surfaces with drop cloths. Keep ignition sources away from solvent-based products, and follow all safety instructions in the manual.
Final Thoughts
Most problems with an electric HVLP paint sprayer can be traced back to setup, technique, or cleaning. Choose a model that matches your materials, use the right nozzle, prepare and thin the paint correctly, test on scrap material, and clean the sprayer immediately after use. With a little practice and attention to these common mistakes, you can achieve a smooth, professional-looking finish and get much more value from your sprayer.

 English
 Arabic
 French
 Spanish
 Portuguese
 Deutsch
 Turkish
 Italiano
 Russian
 Romaian
 Portuguese (Brazil)
 Greek